Posted in EDUCATIONAL ADVICE

Creating, Preparing and Sustaining a Science Practical Training Programme for the A and O levels.

This page is still under construction.

CREATING A SCIENCE PRACTICAL TRAINING PROGRAMME

  1. Decide which examination system (Singapore-Cambridge, CIE etc.) you wish to train students for.
  2. Decide which level(s) (A or O) and which subjects (Biology, Chemistry etc.) for your practical programme.
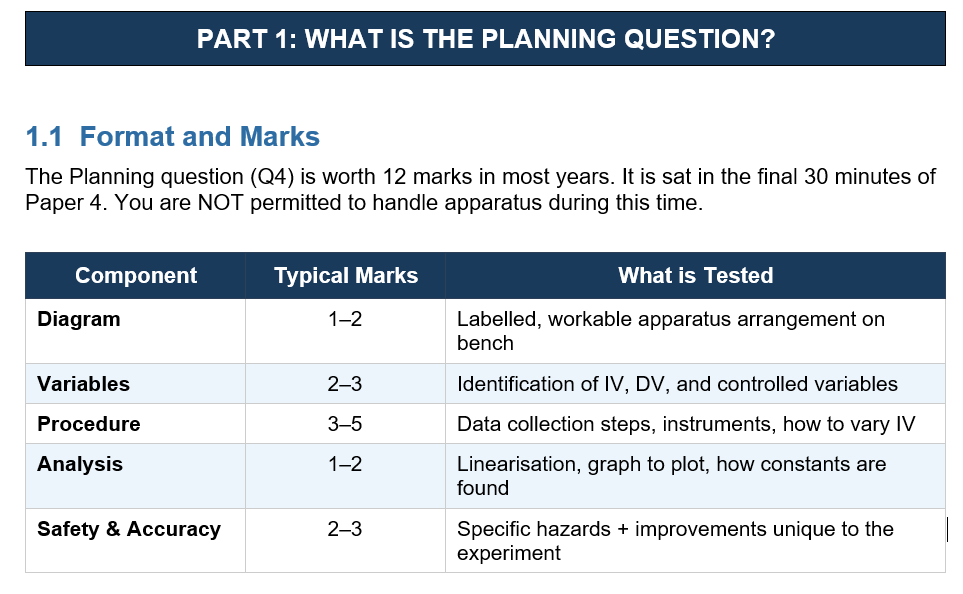
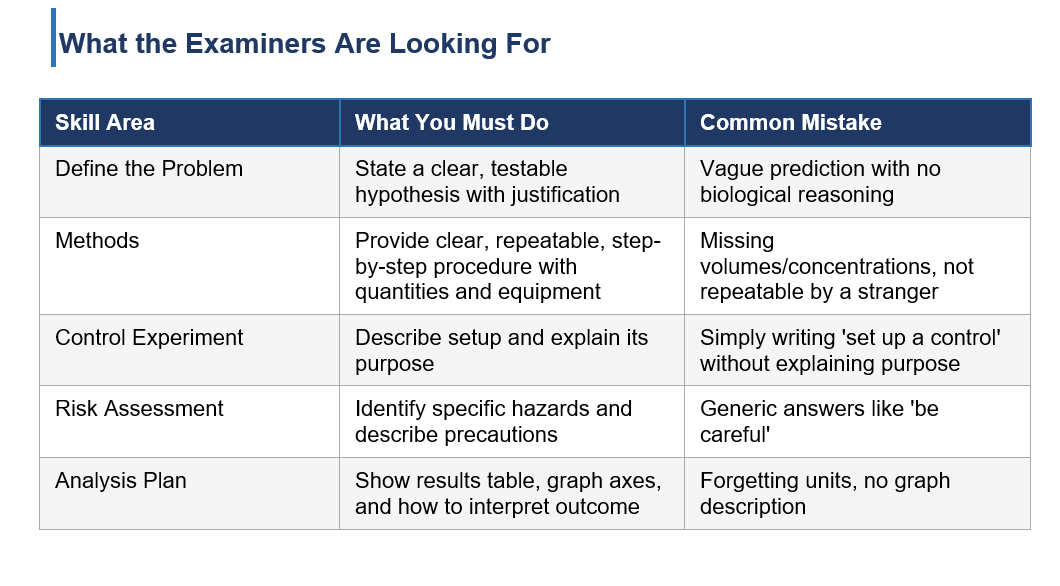
  3. Read thoroughly the science practical syllabus for each level and subject. Take note of the Assessment Objectives, Exam Paper format and the list of apparatus and chemicals needed for each level and subject.
  4. Choose a suitable location, building and unit for your science lab. Please note that for Biology and Chemistry, your lab must have windows which can be opened for ventilation purposes.
  5. Install fire safety systems and devices in your lab, as well as subject-specific safety equipment such as chemical shower facility for chemistry.
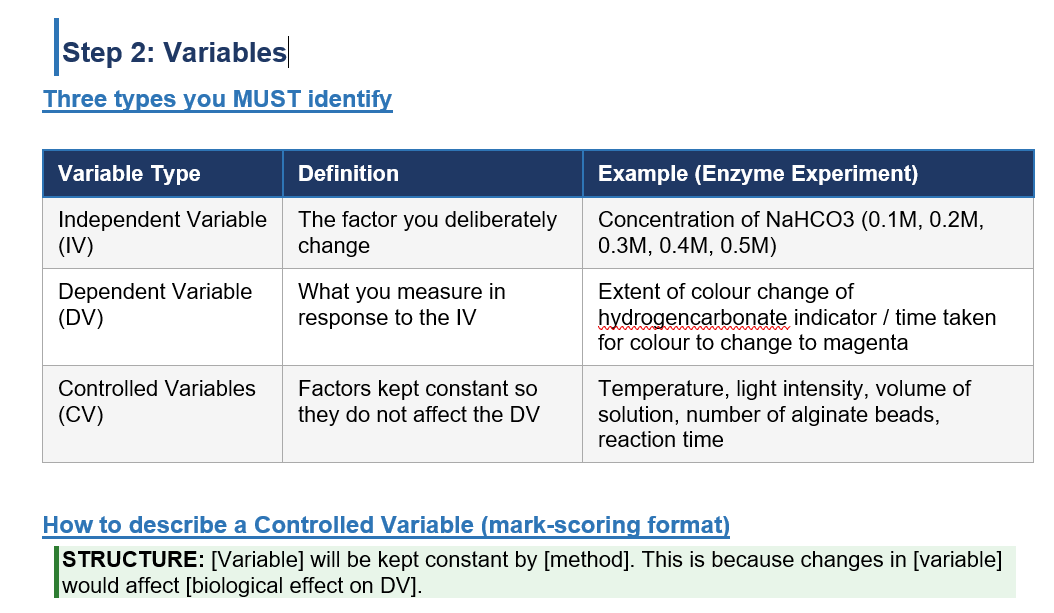
  6. Create all the worksheets (at least 10), prep lists and suggested answers for subject and level.
  7. Purchase and store all the apparatus and chemicals you will need.
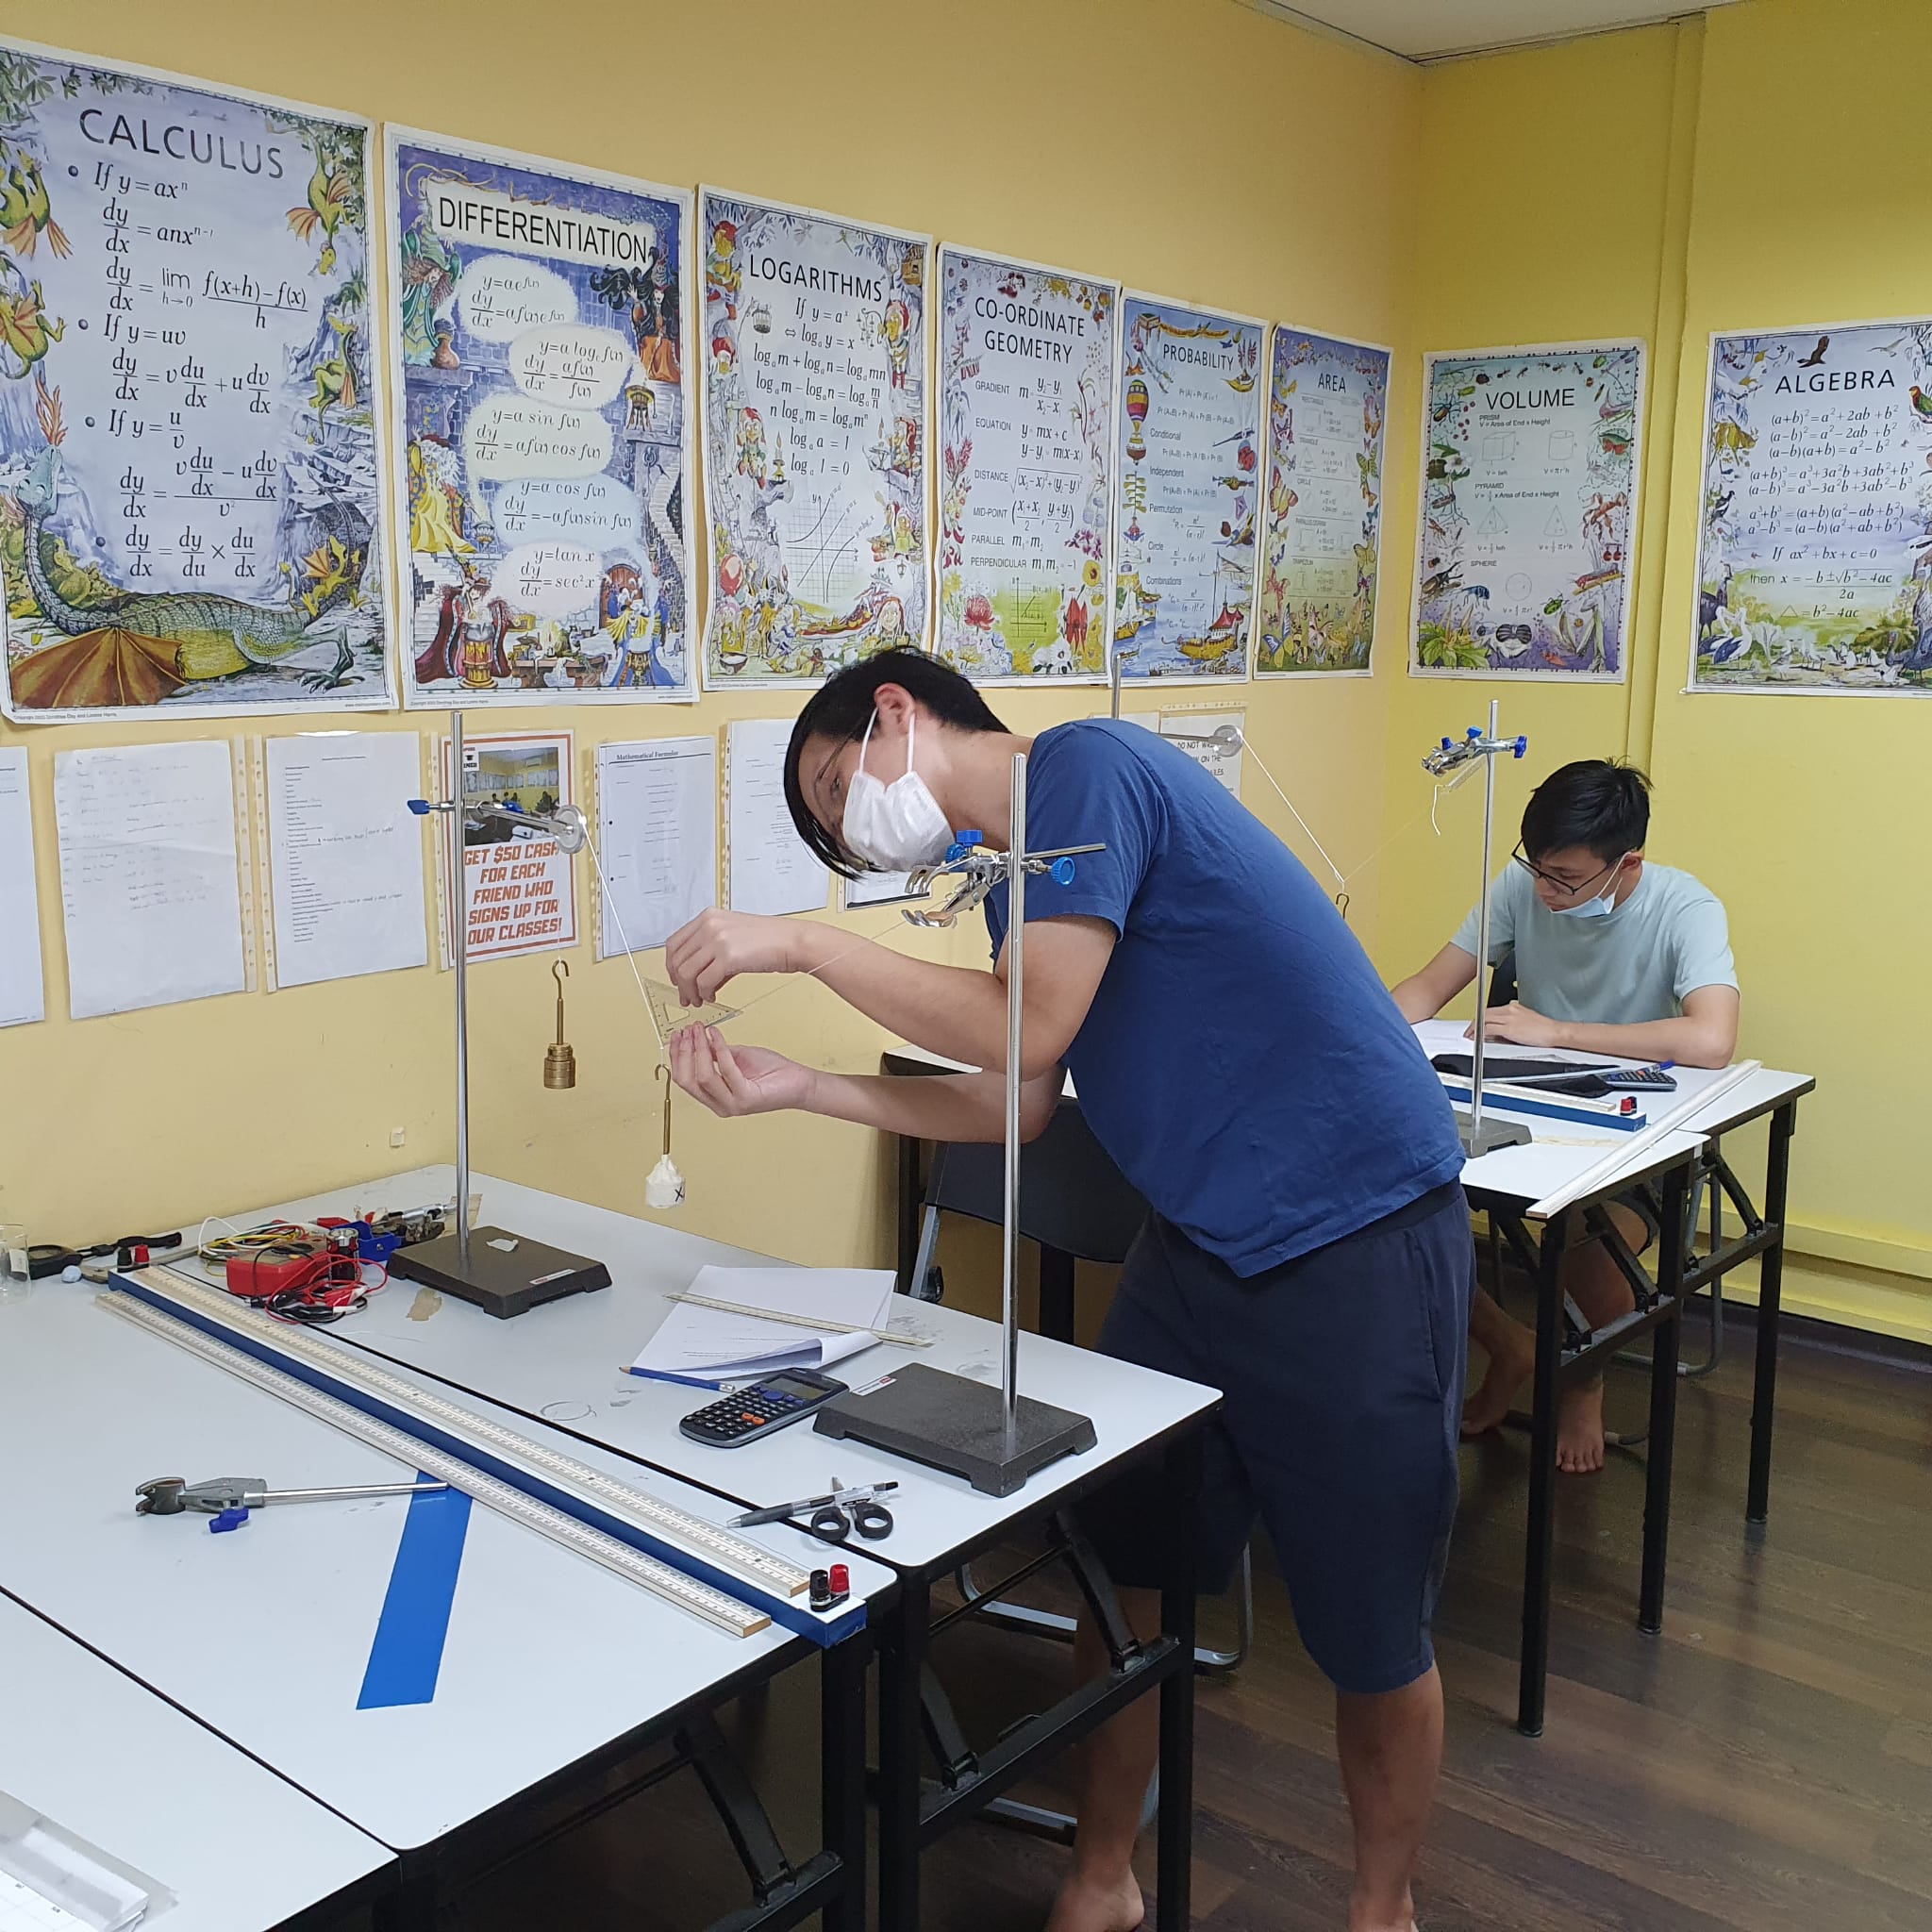
  8. Equip your lab with the right furniture and standard bench reagents and devices such as retort stands and portable burners.
  9. Hire Lab Assistants to help you manage the lab.
  10. Hire teachers or tutors who are comfortable with conducting lab sessions.

PREPARING A SCIENCE EXPERIMENT

  1. About two weeks before the date of the expt, scrutinize its prep list and check for items which you may need to purchase immediately, as suppliers may take a week to send them.
  2. Lab Asst to prepare all the apparatus and chemicals according to specifications, such as quantity, mass or concentration of a substance, including spare apparatus and chemicals. Every bottle has to be labelled.
  3. Lab Asst to layout all the items and chemicals for each student.
  4. Lab Asst to ensure that all the bench reagents and consumables have been topped up.
  5. All the lab worksheets, notes and answers must be printed.
  6. At the end of the experiment, all the used test-tubes, bottles, beakers etc. have to be washed and dried, and other apparatus have to be stored.

SUSTAINING A SCIENCE PRACTICAL TRAINING PROGRAMME

  1. Weekly schedules have to be updated to cater to various student groups, subjects and levels.
  2. Lab rooms have to be assigned to different groups or experiments for laying out of apparatus.
  3. Enough teachers and lab assistants have to be deployed throughout the week; while several experiments are being conducted, future experiments have to be prepared.
  4. Planning must include disposal of waste chemicals and broken glass, and repair or disposal of spoilt items.
  5. Consumables must be ordered before the current ones run out.
  6. Worksheets and notes may have to be updated if there is a change of syllabus, or a change in question trends.
  7. If you are a tuition centre, your practical training programme needs to be marketed via ads in social media or mass media.

To be continued …….


If you are a private school, tuition centre or private study group with no science lab, or you are a tutor who needs a science lab, you can

(A) COLLABORATE with us to provide regular or ad hoc science practical sessions for your students;

(B) OUTSOURCE your whole science practical programme to us, including topical training (which we can plan together), practical tests, revision sessions, prelim exam, and mock exams.

(C) REFER your students (and get referral fees) to us individually or in groups to fulfill their need for science practical revision.

(D) RENT our lab, apparatus and materials for the conduct of your own mid-year, end-of-year, prelim or mock practical exams or even the actual CIE practical exams (if you are a Cambridge-registered school).

Needless to say, we are currently working with a number of private schools to provide them with practical training and practical exams, and we have started planning for practical programmes for 2027, some of which will commence in Nov 2026. Thus if you would like to discuss with us about science practical programmes for your school or tuition centre in 2027, kindly meet us as soon as possible. Thank you!


We can provide science practicals for ALL THREE SCIENCES for the following levels:

1) A-LEVEL (H2 or CIE or Pearson Edexcel) / JC1-JC2 / IP Y5-Y6 / Grades 11 to 12.

2) O-LEVEL / GCSE / IP Y4 / Grade 10.

3) Pri 5 to Sec 3, or Grade 5 to Grade 9, IP Y1 to Y3


For enquiries, contact 88765498 (Admin) or send an email to singaporelearner@gmail.com.

Posted in EDUCATIONAL ADVICE

Notes on O-Level Qualitative Analysis (QA)

What is QA?

In chemistry, qualitative analysis refers to the process of identifying what substances are present in an unknown sample. The emphasis is on the properties and reactions observed, rather than numeric measurements.

During qualitative analysis, you focus on:

  • the appearance of a substance;
  • colour changes or changes in physical state, such as the formation of a precipitate (solid) or the evolution of a gas; and
  • the interaction of the substance with test reagents such as litmus paper.

This differs from quantitative or volumetric analysis, which involves taking measurements to determine the amount or concentration of a substance.

You should be familiar with the standard chemical tests for the following ions and gases:

  • Cations: aluminium, ammonium, calcium, copper(II), iron(II), iron(III), zinc
  • Anions: carbonate, chloride, sulfate, nitrate
  • Gases: ammonia, carbon dioxide, chlorine, hydrogen, oxygen, sulfur dioxide

Important Notes

  1. No practical tests involving sulfur dioxide are required.
  2. A positive acidity test indicates the presence of H⁺ ions, whereas a positive alkalinity test shows the presence of OH⁻ ions.

General Guidelines for QA

Experimental Techniques and Skills

1. Apparatus

  • Use test‑tubes or boiling tubes to perform most tests. Boiling tubes are slightly larger and more heat‑resistant than standard test‑tubes.
  • Check that all glassware is clean, dry, and free from cracks before use.
  • For accurate colour observation, hold the test‑tube against a white tile or sheet of white paper for contrast.

2. Samples

  • Use a spatula for solids and a dropper for small liquid volumes.
  • Unless otherwise instructed, use:
    • not more than 1 cm depth of solid, or
    • not more than 2 cm depth of solution in a test‑tube.
  • Using excess samples can obscure reactions or cause safety hazards.

3. Technique

  • Work carefully and deliberately.
  • Unless stated otherwise, add reagents drop by drop.
  • Prepare all materials beforehand so you can focus on one test at a time.
  • When heating:
    • Hold the test‑tube with tongs or a holder.
    • Begin with gentle heating before increasing intensity.
    • Always point the mouth of the test‑tube away from yourself and others.
    • If the reaction becomes vigorous, remove it from the flame immediately.

Making and Recording Observations

After each test:

  • Record your observations immediately while they’re fresh.
  • Draw inferences and conclusions clearly and accurately.
  • Summarise these in your practical notes or report.

When recording data:

  • Include ALL noticeable observations — colour changes, precipitates formed, and gases evolved.
  • Use clear, specific terminology so that another person could replicate or understand your results easily.

1. Describing Colours

  • Always describe every colour change that takes place.
  • Use simple, accurate colour descriptions such as “blue,” “green,” “yellow,” “orange,” “brown,” “white,” or “black.”
  • If mixed colours appear and no exact shade can be determined, use compound terms such as red‑brown, blue‑green, or yellow‑green.
  • Avoid imprecise or hybrid colour phrases like red‑yellow (when “orange” is more accurate).
  • The words light or dark may be used for shades.
  • If a gas or liquid is clear and has no colour, describe it as colourless, not white.

2. States of Matter and Their Descriptions

(a) Solids

  • Describe solids as crystalline, powdery, or metallic in appearance.
  • When two solutions form an insoluble solid, that solid is called a precipitate.
  • A solid forming on another surface is a deposit, and one remaining after heating or filtration is a residue.

(b) Liquids

  • A solution is a uniform mixture of solute and solvent.
  • A cloudy or turbid liquid indicates a suspension — tiny particles are dispersed but not dissolved.

(c) Gases

  • Observe whether gases have distinctive smells but never inhale directly — waft gently toward your nose instead.
  • A solid that forms when a gas cools is called a sublimate or deposit.

(d) Changes Upon Heating

  • A solid may convert into another solid (residue) of different appearance.
  • Some solids decompose completely and leave no solid.
  • A few solids sublime, turning directly into gas.
  • When bubbles form in a liquid as a gas evolves, describe the observation as “effervescence is observed” instead of simply “a gas is produced.”

Procedures and Observations for Tests

Test for Aqueous Cations

Cations are typically identified using aqueous sodium hydroxide (NaOH) and aqueous ammonia (NH₄OH).

Procedure:

  1. Place about 2 cm of the unknown solution into a test‑tube.
  2. Tilt the tube slightly and add the reagent slowly down the side.
  3. Observe any colour change or precipitate.
  4. Return the tube upright and swirl gently.
  5. Continue adding reagent in excess until no further change occurs.

Observation Checklist:

  • Whether a precipitate forms
  • Colour of the precipitate
  • Whether it is soluble in excess reagent
  • If ammonia gas is released when using NaOH

Summary Table: Tests and Observations for Common Cations

CationAqueous Sodium hydroxide, NaOH(aq)Aqueous Ammonia, NH₃(aq)
Adding a few dropsAdding excessAdding a few dropsAdding excess
Aluminium ion (Al³⁺)White ppt of Al(OH)₃Dissolves to a colourless solutionWhite pptInsoluble
Zinc ion (Zn²⁺)White ppt of Zn(OH)₂Dissolves to colourless solutionWhite pptDissolves to colourless solution
Calcium ion (Ca²⁺)White ppt of Ca(OH)₂InsolubleNo pptNo change
Ammonium ion (NH₄⁺)No ppt. On warming, NH₃ gas released; turns litmus blue.No change  
Copper(II) ion (Cu²⁺)Light blue ppt of Cu(OH)₂InsolubleLight blue pptDissolves in excess to dark blue solution
Iron(II) ion (Fe²⁺)Green ppt of Fe(OH)₂Insoluble; turns brown on standingGreen pptInsoluble; turns brown on standing
Iron(III) ion (Fe³⁺)Red‑brown ppt of Fe(OH)₃InsolubleRed‑brown pptInsoluble

Note: Iron(II) hydroxide quickly oxidises in air to form brown iron(III) hydroxide.

If no precipitate appears with NaOH and no ammonia is evolved, the cation is likely a Group I metal (e.g. Na⁺, K⁺).


Test for Aqueous Anions
 
Anions are tested systematically using dilute nitric acid (HNO₃) first to eliminate interfering ions. When testing for nitrate, you must use another reagent because nitric acid itself contains nitrate ions.


Phase 1 : Test for Carbonate (CO₃²⁻)
Add about 2 cm of the unknown sample to a test‑tube.
Place a drop on red litmus paper.
If the paper turns blue, add a few drops of dilute nitric acid.
If effervescence occurs, confirm with the limewater test. A white ppt that dissolves on further bubbling proves the presence of carbonate ions (CO₃²⁻).
If no gas forms, the sample is an alkali (contains OH⁻).
If litmus stays red, move to the next phase.


Phase 2 : Test for Chloride (Cl⁻) or Iodide (Pure Chem)
Acidify the solution from Phase 1 with nitric acid.
Add aqueous silver nitrate down the side of the tube.
Observation of a white precipitate confirms chloride ions. (Pure Chem: if a yellow ppt. is observed, then iodide ions confirmed)
If no ppt forms, proceed to Phase 3.


Phase 3 : Test for Sulfate (SO₄²⁻)
Add aqueous barium nitrate (Ba(NO₃)₂) to the previous acidified mixture.
Formation of a white precipitate confirms sulfate ions (SO₄²⁻).
If no ppt forms, proceed to Phase 4.


Phase 4 : Test for Nitrate (NO₃⁻)
Place fresh solution (no nitric acid added) in a clean tube.
Add aqueous sodium hydroxide and a small piece of aluminium foil.
Warm gently.
Test the gas with damp red litmus paper – if it turns blue, ammonia gas is produced, confirming nitrate ions.

Summary Table: Tests and Observations for Common Anions

AnionTestObservation
Carbonate ion (CO₃²⁻)1. Test the solution with red litmus paper.Red litmus paper turns blue.
2. Add dilute nitric acid.Effervescence is observed.
3. Test for CO2 by bubbling the gas through limewater.The gas produced, CO2, forms a white precipitate of calcium carbonate in limewater that dissolves after more bubbling.
Chloride ion (Cl⁻)Add dilute nitric acid, then aqueous silver nitrate.Formation of a white precipitate of silver chloride (AgCl).
Sulfate ion (SO₄²⁻)Add dilute nitric acid, then aqueous barium nitrate.Formation of a white precipitate of barium sulfate (BaSO₄).
Nitrate (NO₃⁻)1. Add NaOH and aluminium foil, then warm.Effervescence is observed.
2. Test for ammonia gas with damp red litmus paper.The gas produced, ammonia gas, turns damp red litmus paper blue.

Notes:

  1. Always eliminate hydroxide and carbonate ions first using litmus and acid tests.
  2. Test for nitrate only when other ions have been ruled out.

Test for Gases
These procedures help you identify gases by their effects and reactions.


Phase 1:  Determine Acidic, Basic, or Neutral Gas
Hold damp red and blue litmus papers near the gas source.
Red → Blue → Gas is ammonia (NH₃).
Blue → Red → Could be CO₂, SO₂, or Cl₂ (proceed to Phase 2).
Blue → Red then bleached → Chlorine (Cl₂) or Sulfur dioxide (SO₂).
No change → Gas is neutral (H₂ or O₂).
⚠️ A yellow‑green gas indicates concentrated chlorine – a severe inhalation hazard.


Phase 2 : Testing Acidic Gases
If blue litmus turns red (not bleached): bubble gas through limewater.
A white precipitate dissolving in excess gas → Carbon dioxide.
If blue litmus turns red and bleaches: hold acidified potassium manganate(VII) paper at tube mouth.
Paper turns from purple to colourless → Sulfur dioxide.
Paper stays purple → Chlorine.
(Chlorine can also turn potassium iodide‑starch paper blue, but this confirmatory test is usually unnecessary.)


Phase 3 : Testing Neutral Gases
Add a metal and apply a burning splint: “pop” sound → Hydrogen.
Without metal, insert a glowing splint: relights → Oxygen.

Summary Table: Tests and Observations for Gases

GasEffect on Litmus Further Test and Observation
Ammonia  (NH₃)Turns damp red litmus paper blue. 
Carbon  dioxide (CO₂)Turns damp blue litmus paper red.Formation of white precipitate when bubbled through limewater. With further bubbling, the white precipitate dissolves in limewater.
Chlorine (Cl₂)Turns damp blue litmus paper red, then bleaches it.Turns potassium iodide (KI) solution from colourless to brown   Or   Turns potassium iodide (KI) starch paper to purple or dark blue*   *This is a positive test for an oxidising agent, Cl₂.
Hydrogen  (H₂)No observed changeA burning splint is extinguished with a “pop” sound.
Oxygen (O₂)No observed changeA glowing splint is relighted.
Sulfur  dioxide (SO₂)Turns damp blue litmus paper red.Turns acidified potassium manganate(VII) (KMnO₄) from purple to colourless**   **This is a positive test for a reducing agent, SO₂.

⚠️ Some gases, like chlorine and sulfur dioxide, have pungent, irritating odours and can be poisonous. Always waft carefully, and do not inhale directly.


Singapore Learner has been a Comprehensive Science Practical Training provider since 2017.

Our laboratory apparatus are exam-grade and similar to those used in MOE schools and our chemicals are all NEA-approved.


Why Choose Us?

  • Our teachers are very experienced, and we actually TEACH you good practical techniques.
  • We have been a one-stop comprehensive science practical centre providing solid practical training for ALL THREE sciences and for all levels and streams since 2017.
  • Our laboratory apparatus are exam-grade and similar to those used in MOE schools and our chemicals are all NEA-approved.
  • We have a structured practical training programme catering to the needs of both beginners and experienced students.
  • We have a small class size so that the teacher is able to observe the actions of each student more closely and demonstrate the correct practical techniques where and when necessary.
  • Many private schools trust us to prepare and conduct science practical training and assessment for their students, including structured training, mock exams and even actual CIE science practical exams.
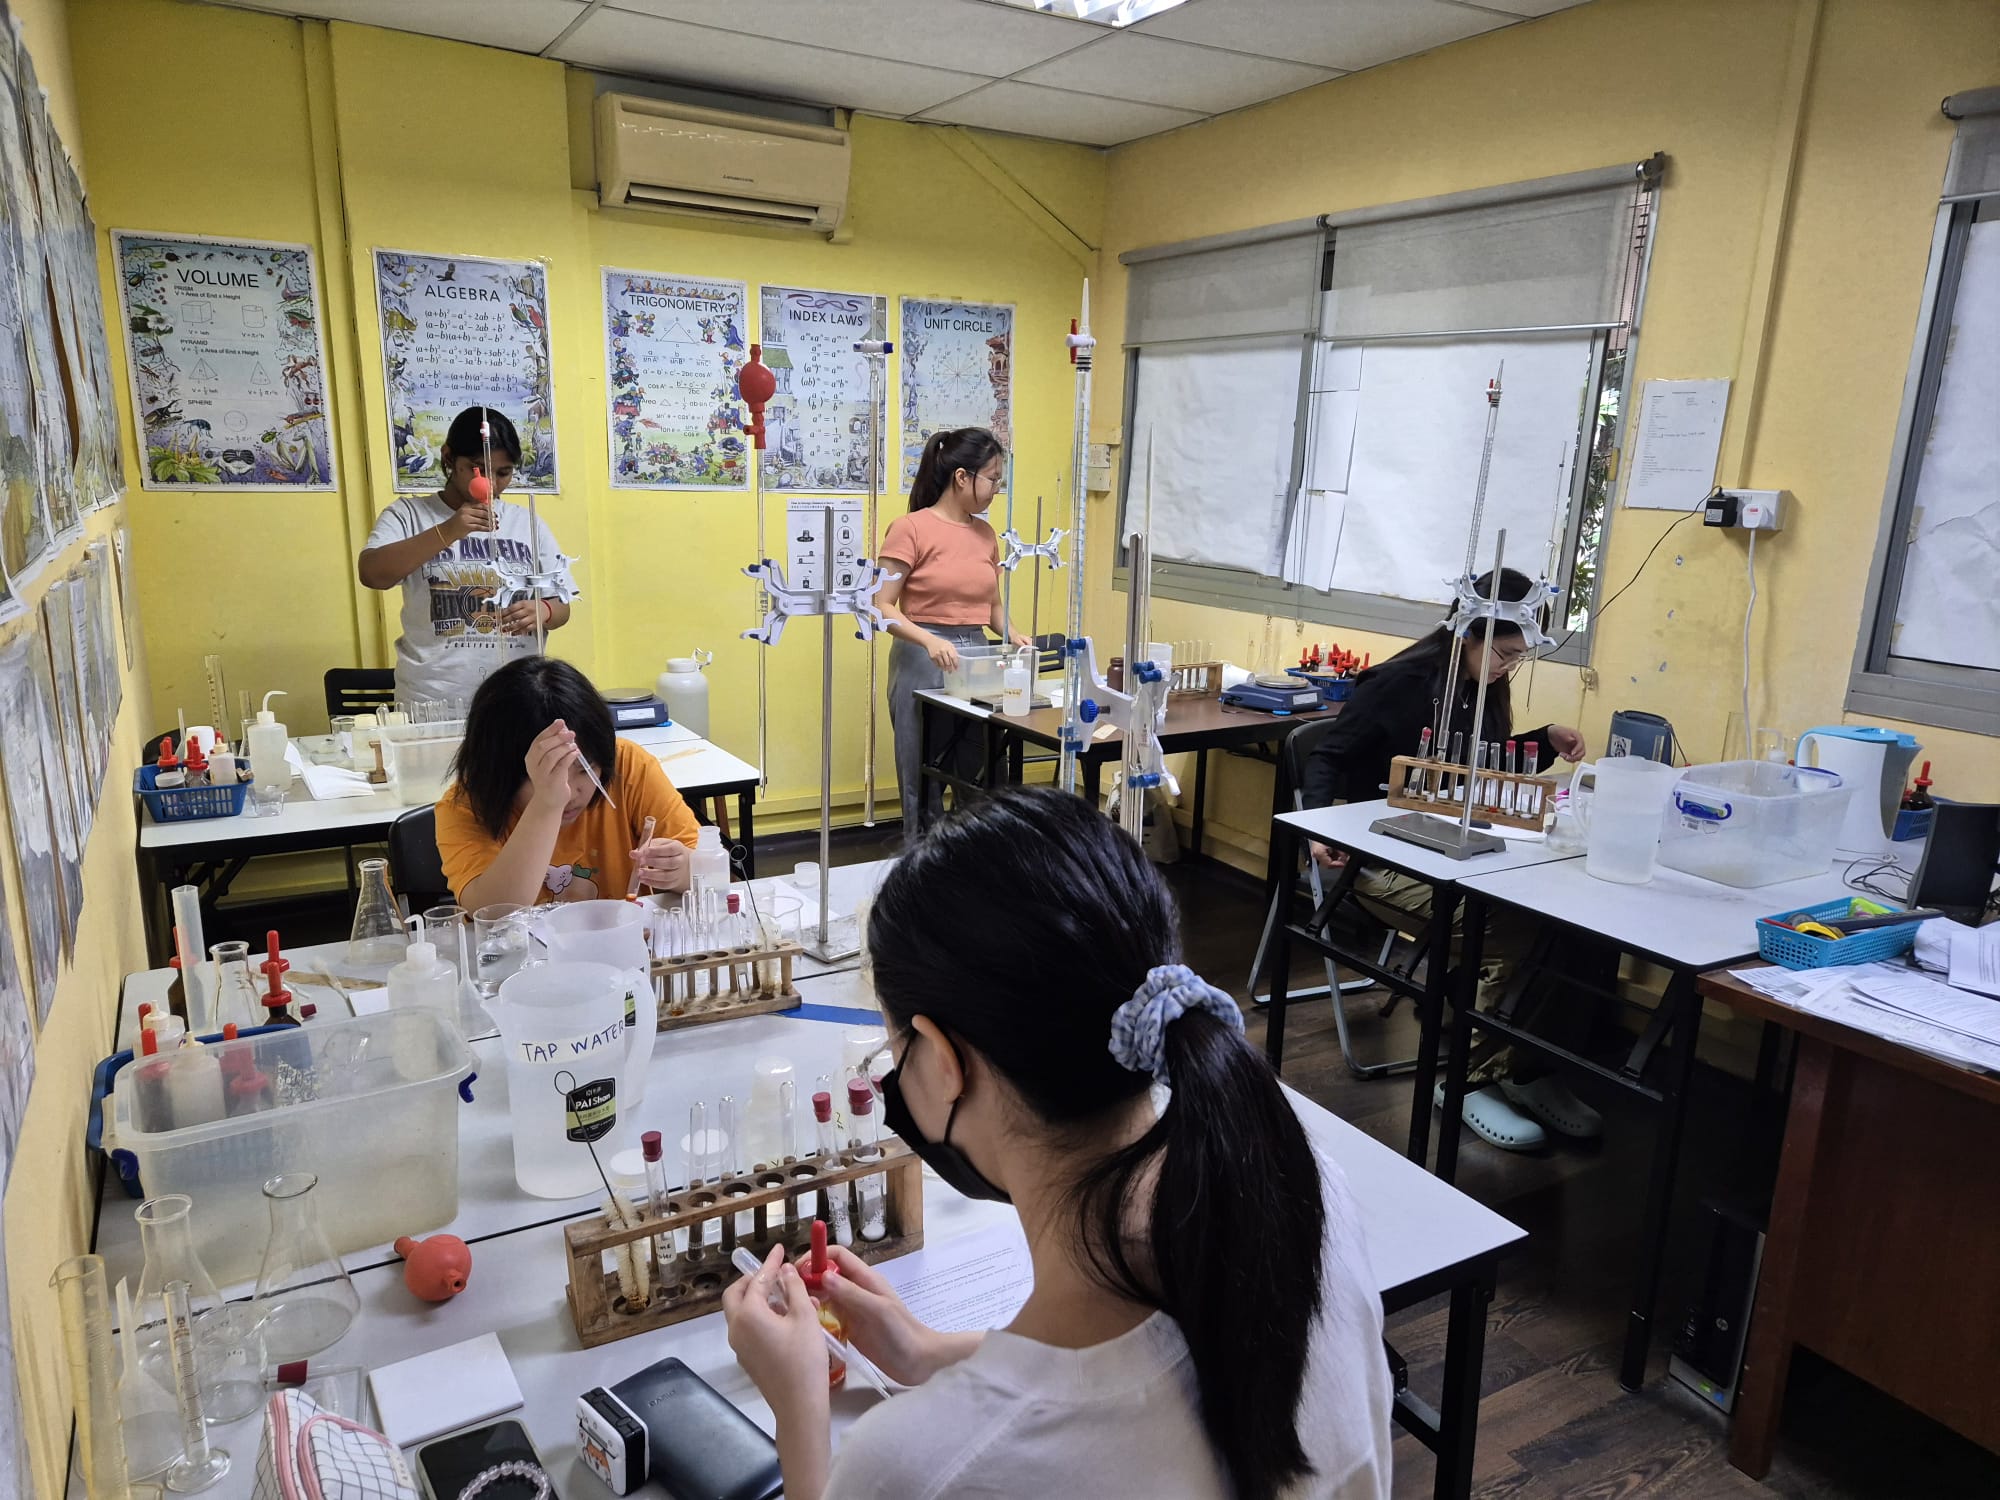
Our Main Practical Programmes:

A-LEVEL H2 PRACTICALS (Available Nov to Oct)

O-LEVEL PRACTICALS (Available Nov to Oct)

SEC 3 PRACTICALS (Available Nov to Jun)

SEC 1-2 PRACTICALS (Available Nov to Jun)

P3 – P6 PRACTICALS (Available Nov to Jun)

PRACTICAL CRASH COURSES (Jun, July, Sep and Oct)

MOCK EXAMS FOR SCIENCE PRACTICAL (Apr to Oct)

March Holiday Science Enrichment (P4 – S2)