1. Answering a Source-of-Error Question
To get the mark for a sources-of-error question, give the one or two factors inherent to the procedure, not a general list.
Every answer has three parts: (i) the specific step and the chemical or physical reason the recorded quantity deviates from the true value; (ii) the quantity affected, stated as too high, too low, or inconsistent, and where relevant, how this propagates through the calculation (a rate constant, an enthalpy change, a Faraday constant); (iii) a concrete precaution, with the reasoning where this is not obvious.
State the effect on the quantity actually recorded, not on the underlying chemistry. At H2 level, examiners further expect the answer to engage with how the error enters the calculation — whether it biases a gradient, an intercept, or a value substituted directly into a formula.
Rejected as “too general” unless further justified for the exact procedure:
- Parallax error, without stating which scale and why it cannot be avoided here.
- “Human error” or “random error”, without a stated cause.
- Zero error — correctable by taring or calibration, not a genuine source of error.
- “Apparatus not accurate enough”, without naming the reading it limits and the resulting effect on the calculated quantity.
- Anything solved by “being more careful” or “repeating the reading” — most sources examined at H2 level are systematic and are not removed by repetition.
1.1 Random and Systematic Error
| Source of Error | Effect on the Reading / Result | Precaution / Improvement |
| Random error | Scatter in either direction from the limit of instrument resolution or from inexact repetition — e.g. concordant titre volumes that still differ by up to 0.10 cm³. | Repeat until titres are concordant (within 0.10 cm³) and average these; take multiple absorbance/conductivity readings and average; use the gradient of a best-fit line over single data points. |
| Systematic error | A constant bias in one direction throughout the experiment — e.g. heat loss to the surroundings in every calorimetry run, or a side reaction consuming part of a fixed current in electrolysis. | Not reduced by repetition. Identify and correct the fault (insulate, use a control, correct for a side reaction), or choose what is plotted so the constant bias is confined to an intercept rather than a gradient. |
1.2 Precision of Common H2 Chemistry Apparatus
| Apparatus | Precision (Uncertainty) | How to Read / Use Correctly |
| Burette | ± 0.05 cm³ (read to 2 d.p.) | Read the meniscus at eye level; for deeply coloured titrants (e.g. iodine, potassium manganate(VII)), read the top of the meniscus. |
| Pipette (25.0 cm³ / 20.0 cm³) | Fixed volume, delivered “to deliver” | Allow to drain fully; touch the tip against the vessel wall; do not force the last drop out unless the pipette is graduated for it. |
| Electronic (top-pan) balance | ± 0.001 g to ± 0.01 g, model-dependent | Tare before each measurement; weigh by difference where possible, so any zero drift cancels. |
| Digital stopwatch | ± 0.01 s (device); human reaction time ≈ 0.2–0.3 s dominates | Trigger against a clearly defined cue (colour change, needle deflection); for a fast reaction, use continuous monitoring (colorimeter, gas syringe, pressure sensor) instead. |
| Colorimeter / UV-visible spectrophotometer | ± the last displayed digit of absorbance; also sensitive to cuvette handling | Zero against a blank/reference solution before each run; handle cuvettes only by the ribbed sides, keeping optical faces clean and free of fingerprints. |
| pH meter / data logger | ± 0.01 pH unit (device); response time and calibration drift are larger sources of error | Calibrate with fresh buffer solutions immediately before use; allow the reading to stabilise before recording; rinse and blot the electrode between solutions. |
| Thermometer / temperature probe | ± 0.1 °C (probe); ± 0.5 °C (liquid-in-glass) | Keep the sensor fully immersed and away from the vessel wall; allow thermal equilibrium before reading. |
| Gas syringe | ± 0.5 cm³, with plunger friction as an added source of lag | Check the plunger moves freely before use; keep the syringe horizontal and unobstructed. |
| Ammeter (electrolysis circuit) | ± the last displayed digit; also affected by drift in current over time | Use a variable resistor or rheostat to hold current constant; take ammeter readings at regular intervals and use the mean, or integrate current over time if it is not constant. |
2. Volumetric Analysis
2.1 Preparation of a Standard Solution
n = m / M; the accuracy of every subsequent titration calculation depends on this concentration being correct.
| Source of Error | Effect on the Reading / Result | Precaution / Improvement |
| Solid is not completely transferred from the weighing bottle/boat into the volumetric flask, or washings from the funnel and beaker are not added. | Moles of solute actually in the flask is lower than the mass weighed implies, so the concentration prepared is lower than intended, biasing every titre calculated from it. | Rinse the weighing bottle, funnel, and beaker several times with distilled water, adding all washings to the volumetric flask, before making up to the mark. |
| The flask is made up to the graduation mark with the meniscus viewed from above or below eye level, or is topped up past the mark. | The true volume of solution differs from the flask’s stated volume, so the concentration calculated (moles / stated volume) does not match the true concentration. | Add water dropwise near the mark with a dropping pipette, viewing the meniscus at eye level; discard and remake the solution if the mark is overshot. |
| The solution is not mixed thoroughly (inverted repeatedly with the stopper in place) after topping up. | Concentration is not uniform throughout the flask, so aliquots withdrawn from different parts of it give inconsistent titres. | Stopper the flask and invert it several times to ensure the solution is homogeneous before withdrawing any aliquot. |
2.2 Acid–Base and Redox Titrations
n(analyte) = n(titrant) × mole ratio, from the stoichiometric equation; back titration finds excess unreacted reagent by titrating it against a second standard solution.
| Source of Error | Effect on the Reading / Result | Precaution / Improvement |
| In an iodine–thiosulfate titration, starch indicator is added too early, while the iodine concentration is still high. | Starch forms a strong iodine–starch complex that releases iodine only slowly, causing the end-point (loss of blue-black colour) to be over-run — titre recorded is too high. | Add starch only when the solution has faded to a pale straw-yellow colour, close to the expected end-point, then continue titrating dropwise to the colourless end-point. |
| A back titration’s excess reagent is not accurately known — the volume/mass of excess-reagent solution added initially was not measured precisely, or the reaction with the analyte was incomplete before titrating the excess. | The moles of reagent that reacted with the analyte (found by difference) carries forward the combined imprecision of both the initial addition and the second titration — the analyte’s calculated amount is inconsistent. | Add the initial reagent by pipette or accurately prepared standard solution, and allow sufficient time (or gentle heating) for the first reaction to go to completion before titrating the unreacted excess. |
| Potassium manganate(VII), a self-indicating titrant, is used past its own colour fading point (solution is not swirled sufficiently near the end-point, so a local excess appears reacted). | The end-point (first permanent trace of pink) is over-run in some regions of the flask while under-run in others — titre recorded is inconsistent between repeats. | Swirl the conical flask continuously and add titrant dropwise near the expected end-point, until one drop causes a permanent, uniformly distributed, faint pink colour. |
| The reaction between titrant and analyte is slow at room temperature (e.g. some redox titrations), so the colour change appears to fade back after the recorded end-point. | The volume recorded at the apparent end-point is too low, since the reaction had not yet reached completion. | Warm the analyte solution gently (where the reaction permits, e.g. acidified oxalate–manganate(VII) titrations) to increase the rate, and titrate slowly near the end-point, allowing time for each addition to react fully. |
| A dichromate(VI) titration is carried out with no added indicator, on the mistaken assumption (true only of manganate(VII)) that the titrant is self-indicating. | Dichromate(VI) and its reduced Cr³⁺ product are both coloured but do not give a sharp visual end-point on their own, so the end-point is missed or badly over-run. | Add a redox indicator suited to the Cr⁶⁺/Cr³⁺ couple (e.g. a diphenylamine-based indicator), whose distinct colour change marks the end-point. |
2.3 pH Titration Curves and Buffers
pH is monitored continuously as titrant is added; for a weak acid, pKa is read from the pH at the half-equivalence point.
| Source of Error | Effect on the Reading / Result | Precaution / Improvement |
| The pH probe is not calibrated with fresh buffer solutions immediately before the titration, or calibration drifts over a long run. | Every pH value recorded (and hence the pKa read from the curve) is offset from the true value by a roughly constant amount. | Calibrate with two buffer solutions bracketing the expected pH range immediately before starting, and recalibrate if the titration is lengthy. |
| Titrant is added in large, evenly spaced volume increments throughout, including near the steep equivalence-point region. | The equivalence point (steepest gradient) and half-equivalence point are poorly located, since few readings fall within the narrow volume range where pH changes fastest. | Add titrant in small increments (e.g. 0.5 cm³) near the expected equivalence point; larger increments are acceptable elsewhere, so the curve is well-defined where it changes fastest. |
| The probe is rinsed insufficiently, or not rinsed at all, before being placed in a new solution. | Contamination carried over from the previous solution biases early pH readings in the new titration. | Rinse the electrode with distilled water and blot (do not rub) dry before each new titration or measurement. |
The full set of notes, which includes more sections on Sources of Error by Practical Topic is available in hard copy for students who sign up for any of our regular practical lessons, Crash Courses or Mock Exams.
LOOKING FOR THE BEST PLACE TO DO YOUR SCIENCE PRACTICALS? JOIN US!
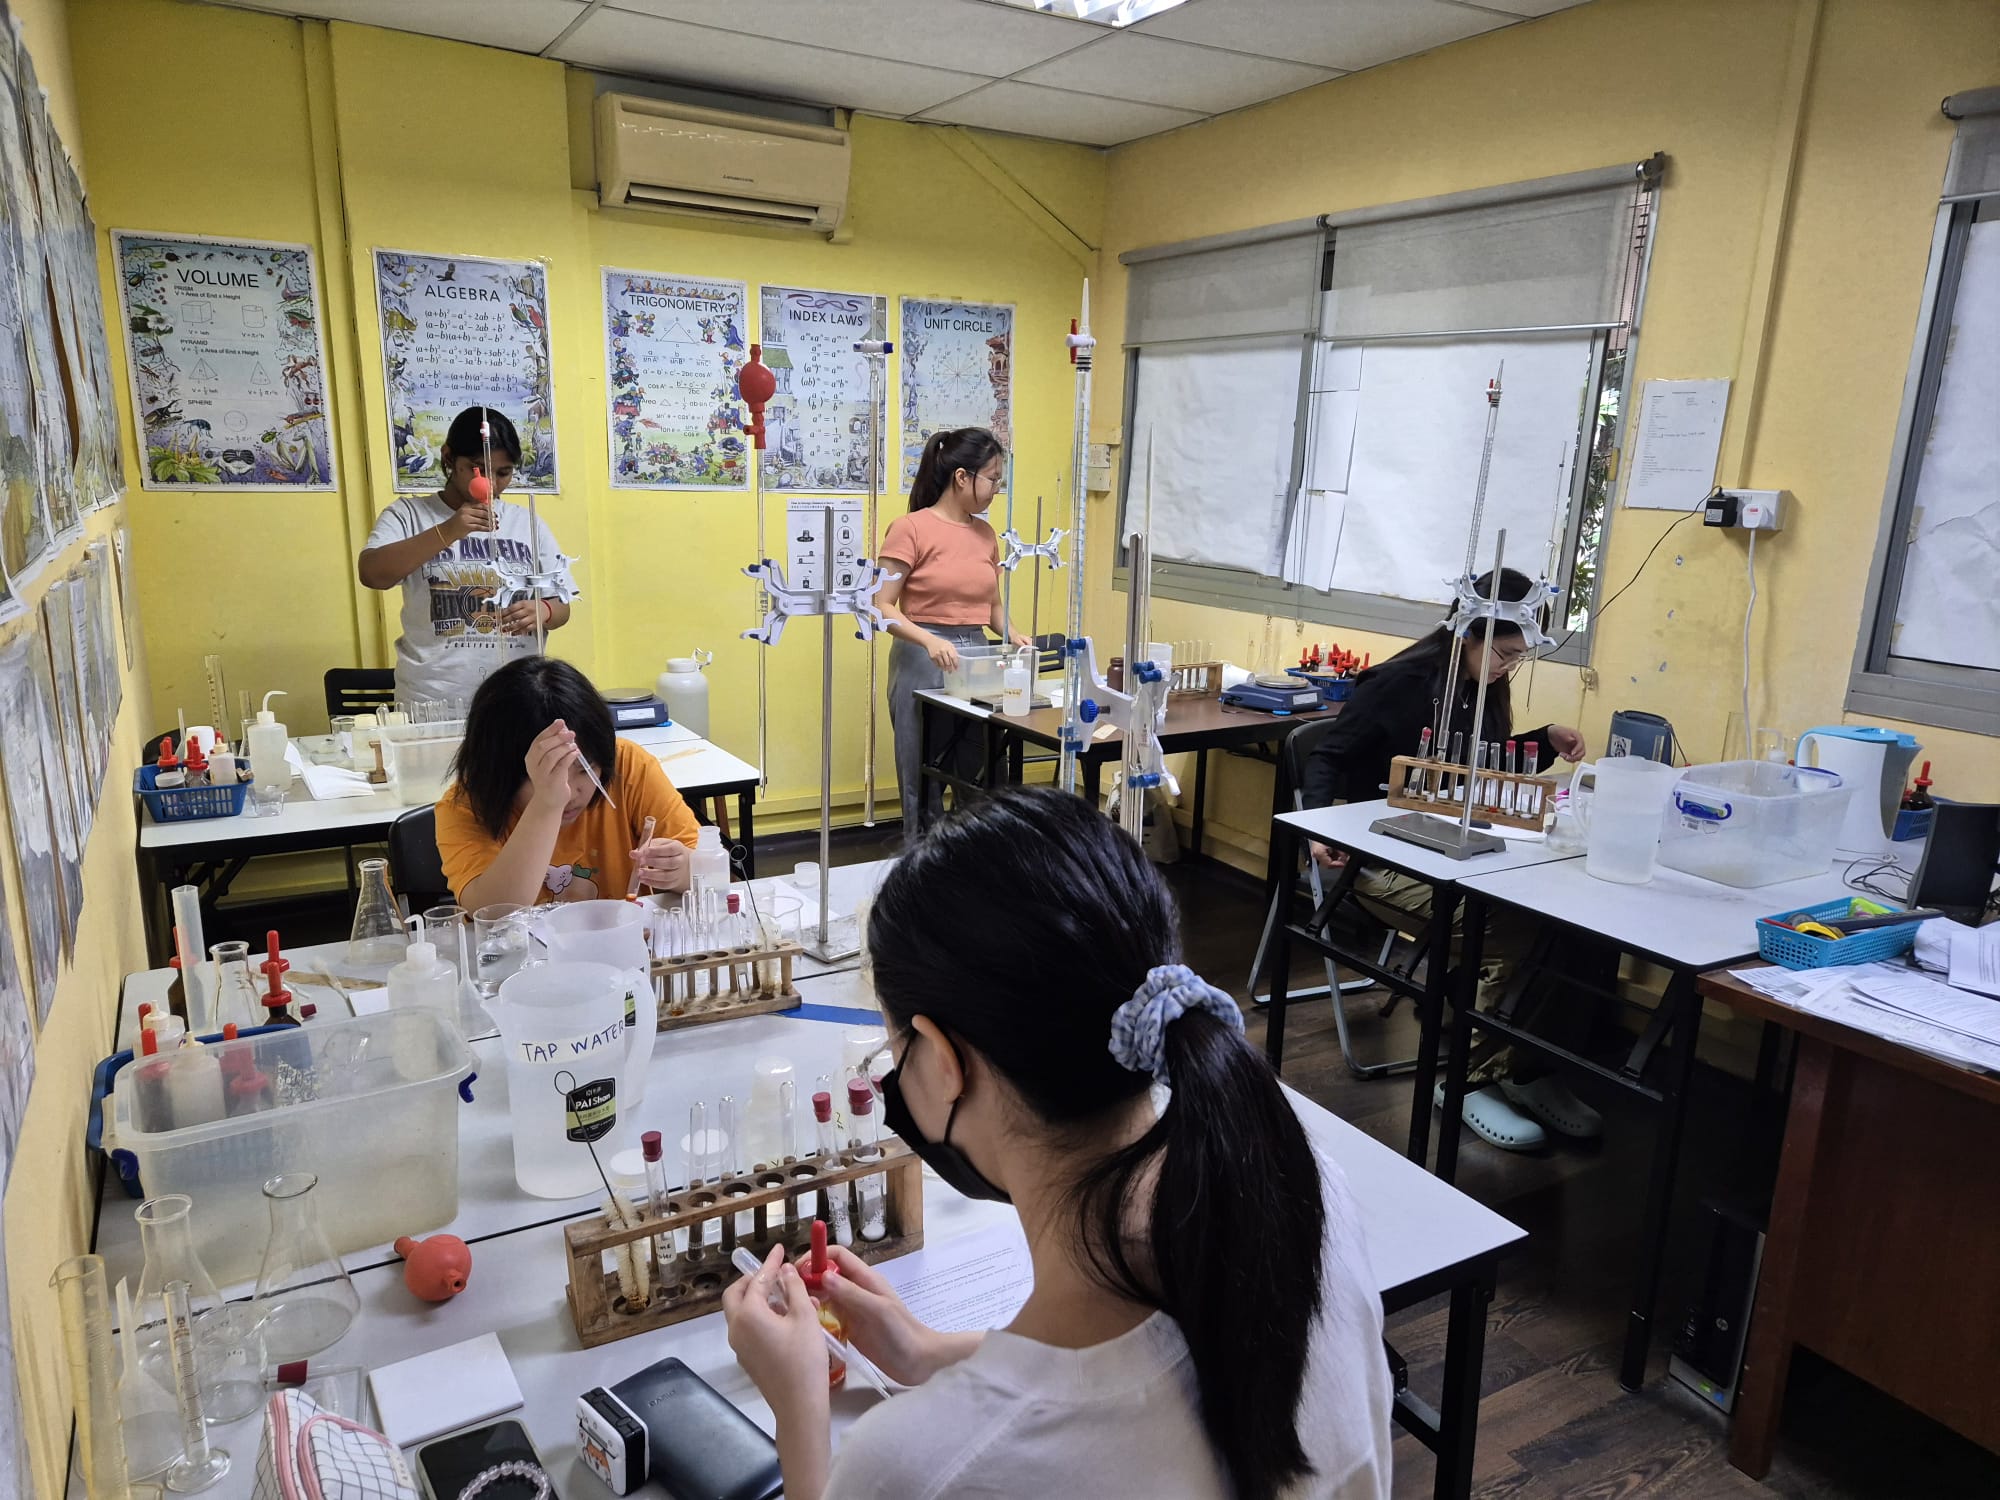
Singapore Learner has been a Comprehensive Science Practical Training provider since 2017.
As at 19 Apr 2026, we have trained about 1060 students for their science practical exams and we have conducted a total of about 4044 lab sessions.
Our laboratory apparatus are exam-grade and similar to those used in MOE schools and our chemicals are all NEA-approved.
We provide A-Level / H2 / IP and O-Level Physics, Chemistry, Biology and Combined Science (Physics/Chemistry/Biology) Practical Training/Crash Course/Mock Exams for both local (eg. H2, Singapore-Cambridge) and international exams (CIE, Pearson Edexcel, IGCSE).
Why Choose Us?
- Our teachers are very experienced, and we actually TEACH you good practical techniques.
- We have been a one-stop comprehensive science practical centre providing solid practical training for ALL THREE sciences and for all levels and streams since 2017.
- Our laboratory apparatus are exam-grade and similar to those used in MOE schools and our chemicals are all NEA-approved.
- We have a structured practical training programme catering to the needs of both beginners and experienced students.
- We have a small class size so that the teacher is able to observe the actions of each student more closely and demonstrate the correct practical techniques where and when necessary.
- Many private schools trust us to prepare and conduct science practical training and assessment for their students, including structured training, mock exams and even actual CIE science practical exams.
